Sunday, December 15, 2013

Architectural mesh -- How it fits in

My conception of railing includes two distinct components: frame and infill.  Frame being the posts, cap rail, top rail (optional), bottom rail (optional), and posts and infill being the 'baluster' segments inside the frame. Wire mesh infill is an elegant infill in terms of key factors such as visibility, maintenance, weight, durability, and style. 

For a visual primer on the world of wire mesh, or gridded railing on houzz.com click here 


Here is a basic grid railing with wood frame. Notice the posts are designed to blend architecturally with the house in terms of shape, design, and color, and the cap is a translucent stained high quality piece of wood that compliments the aesthetic of the deck: 
Photo: Deck Stylists

We can replace your wood balusters, which are costly to maintain and tend to be less open in terms of view with mesh. Many existing rail frames can be easily adapted for grid installation by removing balusters and adding any framing as necessary. I would not recommend doing a wooden grid unless the plan was to let it weather (no preservative). 

Grid railing, or architectural mesh, is open, clean, strong, easy to maintain, and super stylish. It can also be done at a relatively low entry cost. Strands of metal can be welded together or weaved depending on budget and preference. Mesh can either be galvanized, powder coated, oiled, or left to rust or patina. A heavy duty wood frame is often used and custom built by us, and the grid stock is purchased from a variety of metal types, gauges, light penetration and patterns depending on the desired look, which ranges from rustic to ultra sleek and modern. 

For grid railing I like beefy timber frames to add some structure and girth to the design. For example, woven wire mesh infill with reclaimed timber frame railing is spectacular. 

The Western Group produces just about every combination of architectural wire mesh imaginable. We are happy to announce that we will be using them as a supplier for our customers. Combined with the variety of wood frames that we can create, the possibilities are endless when it comes to design options with wire mesh railing. We are very excited to be using their products in 2014. 

This is an example of what can be done using their product and either a faux distressed finish or actual reclaimed boards such as picklewood cypress or trestle wood: Notice the effect from weaving the iron (as opposed to welding) as it creates a rustic, custom feel. 


Photo credit: The Western Group

This is an example of a basic grid railing with regular dimensional redwood and/or cedar, spruce, or even doug fir. 

Photo credit The Western Group

The off season is a good time to start thinking about this type of project so there is plenty of time for design and getting the materials together. The more planning we can do the better your project will turn out. 

New cable rail supplier Atlantis Railing

We are very excited to announce that we have added Atlantis Railing to our list of cable and aluminum baluster handrail suppliers.  I am especially excited about this system, which is called the Rail Easy Spectrum. Definitely one of the smartest designs I have seen. 

From the Atlantis web site: 

"Atlantis Rail's RailEasy™ Spectrum is an easy to use, universal cable guard railing product.  It utilizes fascia mounted square posts and a variety of cable infill options including, RailEasy™ Studs, HandiSwage fittings or traditional machine swage studs.  It is designed for use with customer supplied wood top railings.  Universal posts are used for corners, ends and mids, allowing for a truly off-the-shelf guard rail solution.  Choose from the list of stock colors below or special order the color that best fits your application."

photo credit Atlantis Railing

This is a super sleek cable railing design that would require minimal maintenance. The posts can be face mounted, top mounted, or core mounted depending on your preference and the design of the deck. there are a variety of colors available in the posts and they have a super nice powder coat on them. The thing I really like about this system are the horizontal mounting brackets at the top of the post for mounting the wood cap, which could be anything from ipe to redwood to composite to reclaimed. Looking forward to doing some installations of this product in 2014. 

Changing attitudes on composite decking

I'm sure that many of our legions of dedicated followers did a spit take when they realized that we do lots of composite installations, especially after reading this post about the benefits of wood over composite. I am beginning to think the high end composite products are sweet, and seem to be overcoming many of the issues mentioned in my criticism. 

Over the years I have seen decks in virtually every state of disrepair you can imagine. From pristine hardwood decks to the oldest redwood decks that are becoming one with the surrounding environment. In the process I have learned that some decks, despite my best heroic intentions, are beyond saving and must be torn out. It is in this situation that I am very open to composite, especially if I have a client that is fed up with dealing with staining and doesn't particularly care much for the aesthetic of wood. Composites are a great solution for these clients. 

Lest we forget...


Composite has come a long way since the days where flaking away (shown above) was likely to happen on any given batch. Witnessing countless disasters like this have made us approach the composite market with caution from the beginning of our company. In addition to impeccable customer service, companies like Trex have advanced the technology to a point that has made it a much more attractive product for a certain segment of our clientele. 

Durable outer coatings now wrap the raw composite material to defend against the common issues of rot, scratching, fading, and staining. This coatings also blocks moisture from entering the top surface which had been causing the boards to swell and move around on the frame. Many colors, grains and textures have increased the design potential and visual appeal of this medium greatly. Structural issues have been dealt with hopefully eliminating warping, cupping, or sagging. While I have yet to drink the koolaide completely I have now created space in our company for the use of composite decking. 

Composite verses tropical hardwood 

On price, high end Trex or Timbertech will be about the same as a tropical hardwood, although the price of ipe does fluctuate. The performance in my opinion is about the same as tropical hardwoods in terms of durability and work-ability as far as marring, crisp edges, and routing capability seen in both tropicals and composites. In terms of overall elegance and high end appeal I would put well installed and maintained tropical hardwood over the best composite installation but you do pay for it in terms of increased installation labor and tools, expensive fastening systems (if top fastened), and long term maintenance. 

Border pieces, curved archways, inlays, and other patterns can be created using multiple colors and varieties of composite decking.  Attempting to do this by using all redwood and different stain colors would create too much work for too little reward, since each board would need to be stained individually each time the deck was stained, and the contrast might not even show up very sharply anyway. Tropicals could be used to create borders and inlays either by using different species of tropical hardwood on the same project or using a mix of tropical and redwood or cedar.  There are is range of colors and grains available in different tropical species and I think you will see more examples of mixed species decks (from us and others) in the future. 

Downsides to composite, the material is super heavy and requires larger vehicles for transport. Also, this material is not wood, and I do love me some wood. Composite decking is a technological solution that has yet to be proven over the long term (20+ years) and if failures do occur, replacement is necessary.  Wood on the other hand is malleable and can be worked with and restored in nearly any condition. 

I digress, back to the project at hand. 

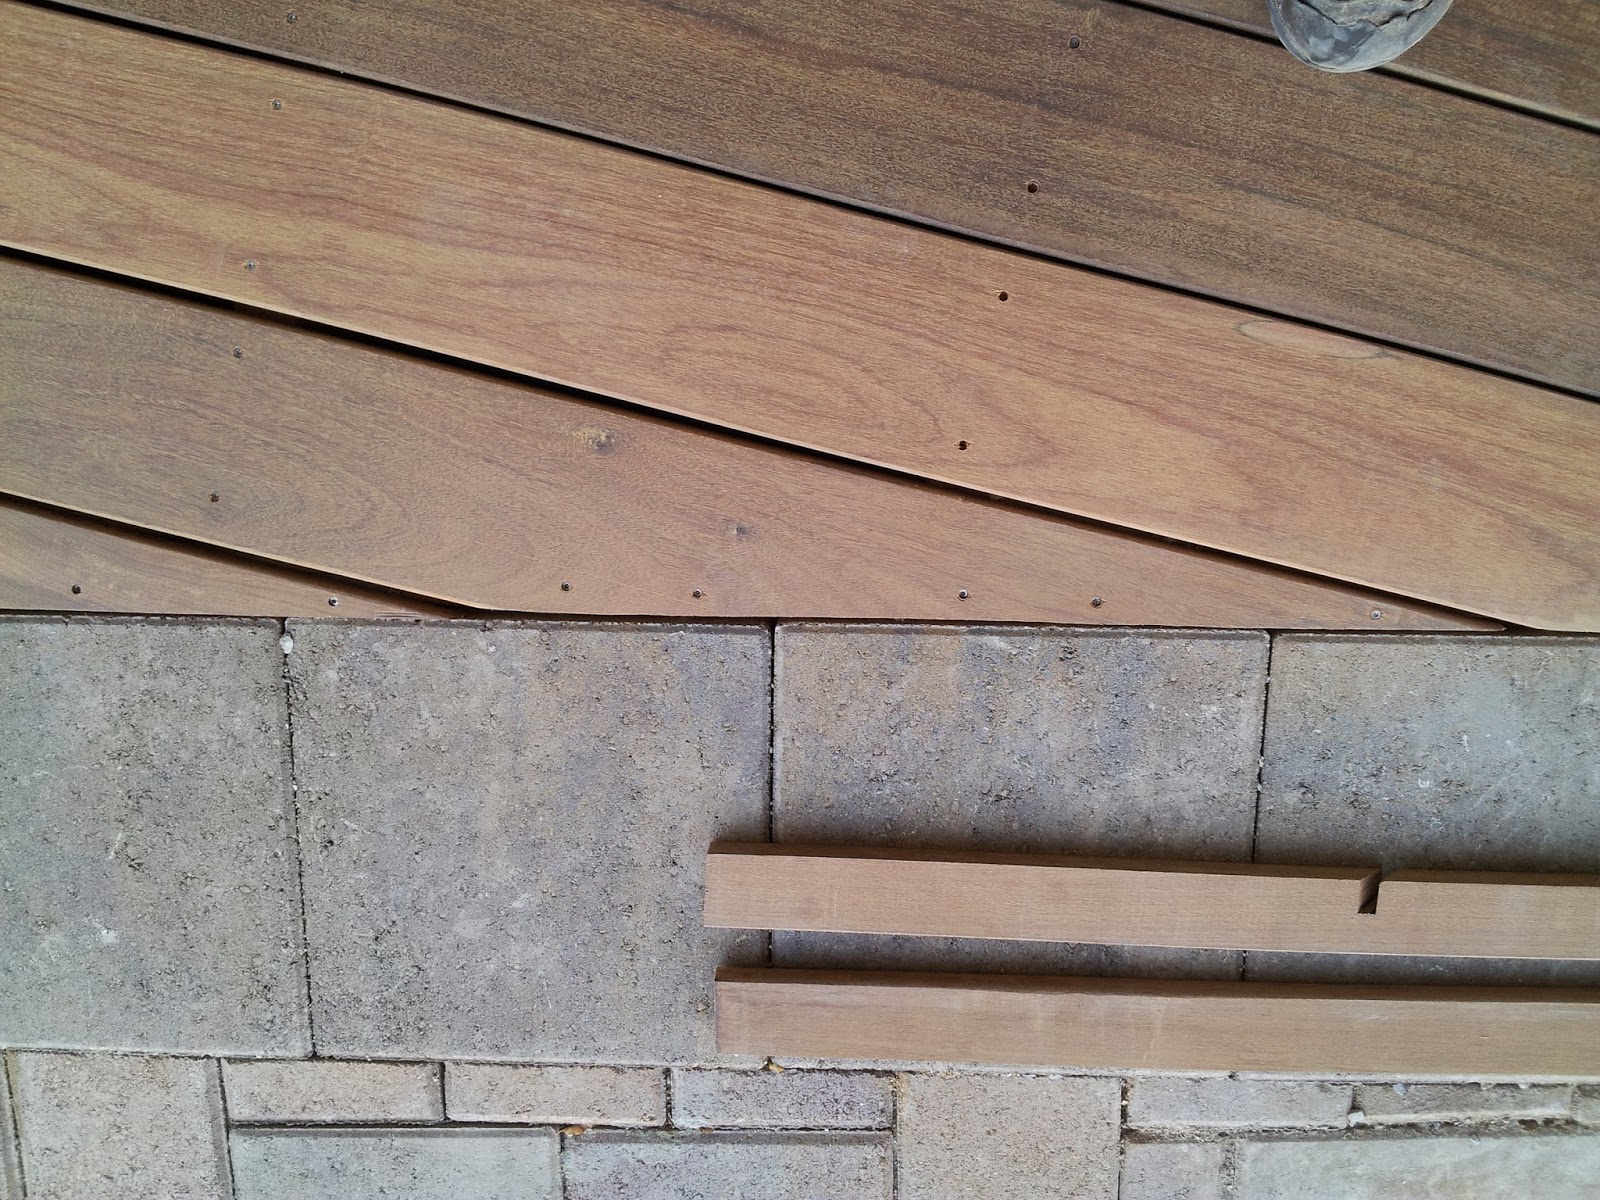
After tear out on this deck we did an under coating of an oil based semi solid stain on the existing framing. Since the framing is relatively old it would have been a limiting factor in the overall life of a deck like this, and it would not be a fun task to remove the decking in order to rebuild the framing down the road. Top sheet removals always provide a valuable window of time to access the sub structure on ground levels decks. We do a full inspection to make sure everything was fastened well and that there are no rot issues. This is definitely the time to under coat if the frame is older and untreated even if it is pressure treated, which does require staining after one year. Luckily the builder used 2 x 10 pressure treated joists and double ledgers with many joists also being doubled. I have no doubt that this deck will last a long time. 

Before 


This deck is the trex transcend tropical with a border piece at the stair edge as visual element and also for safety. The tropical is up to $1.00 more and gives you the darker colored streaking in addition to the textured grain. This product goes in fairly easily using Trex hidden deck fasteners. 

After

A splash of real wood...


Details 
Date: October 2013
Trex Transcend tropical tiki torch with lava rock border piece 
Undercoat cabot semi-solid grey pressure washed, mildewcide, dry time then stain sprayed on. 

A slice of ipe...

This job was awesome for many of the same reasons that this job was amazing: great clients, timing, and dealing with a high quality product made this job super enjoyable. 

Post placement can be a somewhat challenging aspect of deck construction. On this job there were many subterranian obstacles such as gas lines, foundations, and large boulders which limited our options and forced us to install footings in slightly less than ideal locations. 


This resulted in some added creativity in building the framing, which we love, because lack of creativity is boring. Also, we are wizards.   

Result: a floating (unattached to house), double cantilevered pressure treated frame that is bomb proof and rock solid with zero movement. We used 6" and 4" head lock spider drives for flush mount facing and ease of installation. It is my belief that these screws are equally strong compared to regular lags in certain framing applications. Many of my colleagues agree on this point as well. 

This deck was located next to a pool, which is a great location for ipe or other tropical hardwoods due to their ability to resist moisture related issues.  

We used 2.5" trim head stainless screws for the top sheet, with an 1/8 inch counter sink.  This conceals the head just enough to allow for sanding if needed down the road.  Countersinks with ipe leave a crisp, durable edge compared to softer wood.
Check out our screw pattern on the outer edge of the deck: 


Before staining:

After staining:

A benefit of the cantilevered face is the pressure treated 4 x 4 post is recessed and not visible. 

All you see is ipe...

Brightening, and brightening, and brightening...

Brightening refers to the process of acid washing a deck prior to staining.  We use oxalic acid, although I know some people have used muriatic on redwood decks with success as well. The product we use is non toxic and biodegradable. It also contains a mildew removing component that sanitizes the deck of any fungal growth. 

We also brighten using deck brushes with a medium stiffness when the wood is dry to massage the solution into the grain of the wood. This helps produce the maximum desired effect and eliminates weak and uneven acid washing using a pressure washer to apply. We do this on all of our maintenance and restorations. 

Acid washing is especially important after sanding since there is a particular fungus that likes to grow on tiny bits of dust leftover after sanding.  This is also why we keep the deck as clean as possible throughout the process and never leave dust on a deck after it has gotten wet, or may be getting wet overnight. PH is important in terms of the reactivity of redwood and cedar with the pigments used in our deck stains, which are essentially metals. Acid washing makes the deck colors really "pop" as the name "brightening implies, as shown in these pictures:


Before brightening:

  After brightening:

We have also found that a second brightening is needed decks that had a lot of screw issues. or were left to weather for several days due to storms before staining.  The act of countersinking a screw can cause metal to flake away and get into the wood, which rusts and causes black bleeds along the grain of the redwood after the initial pressure wash/brightening. 


Screw bleeds after brightening and several rain showers:

Screw bleeds immediately after second brighten:

Hardwoods and brightening 
We do not use brightener on hardwood since the same ph issues in cedar and redwood are not present, and they are much more resistant to mold and other microbial growth. We do use a mildewcide/cleaner after sanding to eliminate microbes and deep clean the wood but have never had any issues with mold. 

Here is a job where we only pressure washed the greyed out ipe and then stained it with great results.  You will notice a slight darkening on the outer 2 deck boards due to increased weathering but overall very effective. 


Pressure wash damage

Pressure wash damage
Pressure wash scar that we were unable to remove completely

Pressure washing a deck as a form of restoration is not a good idea, especially not with redwood or cedar. By restoration I mean restoring the wood surface to its original color and smooth texture. If you or someone you have hired is using a pressure washer to strip paint or oxidized wood off of your soft wood (redwood, cedar, fir) deck then you should STOP!  

Pressure washing works great to remove dirt and deep clean the deck quickly, as well as gently (not visibly) raising the woods grain for better stain absorption.  Pressure washing as restoration will not return the color of the wood to its original color or texture. The best case scenario is MOST (not all) of the existing stain or paint or weathered wood will be removed but almost never ALL of it. This means you will have uneveness showing through the deck stain, which is either semi-transparent or translucent. 

Aggressive pressure washing will ALWAYS make the wood surface more rough, and never more smooth.  Also, even in the areas that do come out ok you will not get the reddish hue of redwood, only a blondish color that more closely resembles doug fir. We often see pressure washing that is so aggressive that gouges the wood deeply along the grain, sometimes so deep that we cannot sand it out, as in this picture: 

Cable rail with deck restoration

November 2013 
This job was incredible for a number of reasons.  First of all the timing was impeccable as temps in Park City had dropped too low to work we were able to enjoy fall like conditions on this Big Cottonwood area deck. 

The clients were also a joy to work with. They knew what they wanted and they were receptive to our ideas and we came up with a great plan.  Very pleasant indeed and I would like to thank them for everything. 

This deck sanded beautifully and with double acid wash we were able to remove all remaining screw bleeds. The color was perfect and we did a second coat due to the overall dryness and porosity of the wood.  
Top landing before sanding, this represents the condition of the entire deck when we started. 

The view...

The final product 

The rail frame was newly installed and upgraded to 1/2 inch through bolts on most posts and 1/2 lags where through bolting was not possible. I am a big believer in big heavy hardware for post installation, especially with cable where there is a lot of lateral tension. 

This rail system will bring rail maintenance down by a large factor since what they had before was a *&^*load of wooden balusters with several coats of semi-transparent (film forming) stain and areas of weathering. We can now re-stain the railings in 1 day with 1 person, or a half day with 2 people, which is similar or less than the amount of time it would take to do maintenance on the deck.  Compare this to 3 guys working for 2-3 days and using a ton of stain and you get the idea.  

The wood on this frame will also a. be easier to stain than the previous wooden railing and b. experience less wear than a full wood railing. There are many areas on a wood frame railing that are horizontal and spaced tightly. In comparison, only the cap rail is horizontal with this system, which is the easiest railing component to stain and/or restore.  


Details: 
Sikkens SRD natural oak 2 coats applied 3 days apart. 
Wood: Heart redwood decking restored, new common redwood (also sanded and acid washed) rail frame. 
Cable rail: stainless eyelets for through posts, and stainless cable from Timbertech,  turnbuckle tensioners and ferrule stop clamps. 
More pics: 


Tuesday, November 26, 2013

Wood floor season

This is our first project of the floor season. A very beautiful pine floor, stained and finished with water based poly. Very nice to be working inside again!

This floor had some major issues..

Water damage and worn away finish. 
Looking nice after staining and coating! 


Call us for a free quote! 

Tuesday, October 15, 2013

Old town cable

This was another cable rail using our inexpensive system. The components have an industrial feel and go great on the stained wood. Also, restored decks for a fraction of the cost of replacement = happy customer.  Stain is sikkens srd teak, which is a little darker than the rail in the previous cable post.

Friday, October 4, 2013

Bluebird day

Bluebird day tear out!

Thursday, September 5, 2013

New entryway

Here we remove a sad old entryway and redesigned a new one.

I like the simplicity and strength of this staircase, which is composed of only 3 parts. Glue lam treads and stringers for a clean look and superior strength. Rough sawn timbers for a flash of rugged aesthetic, and powder coated steel for a maintenance free, timeless finish.

Monday, September 2, 2013

Re-do :'(

What happens when it starts raining really hard right when you are staining a deck? We here at Deck Stylists have always wanted to know so we tried it!

Luckily we love sanding decks because we had to sand this one twice :-(

Live and learn...

The first pics are what we came back to the next day.  The black is where the stain got wet and under the eve it was protected.  Luckily this customer had a good attitude and waited patiently while we sanded the deck again.

The next pics are the finished product after the mistake was fixed. Yes, we waited for a nice clear day to stain this time!

Uh ohh...

All better!


Result: our goals met.  Beautiful deck and a happy client :-)